
Last updated November 15, 2026
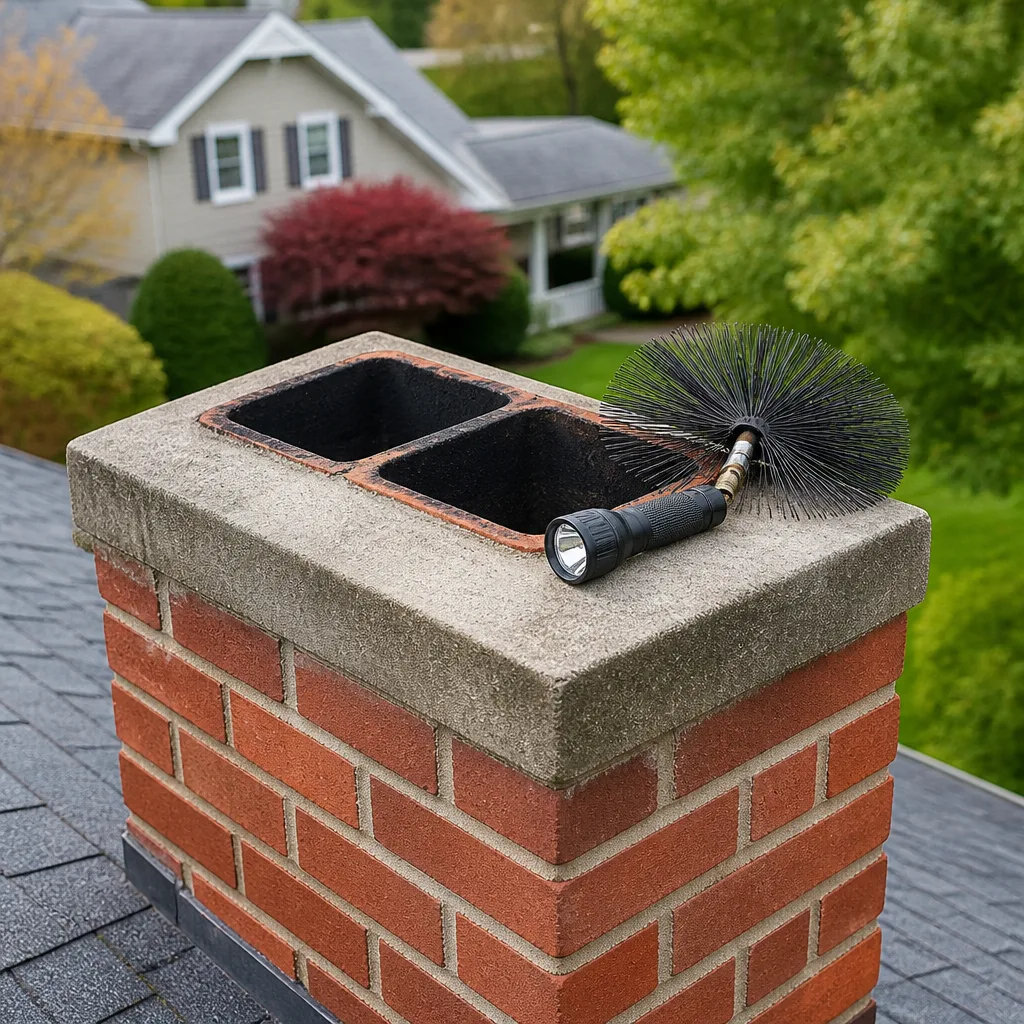 Sweep & inspection
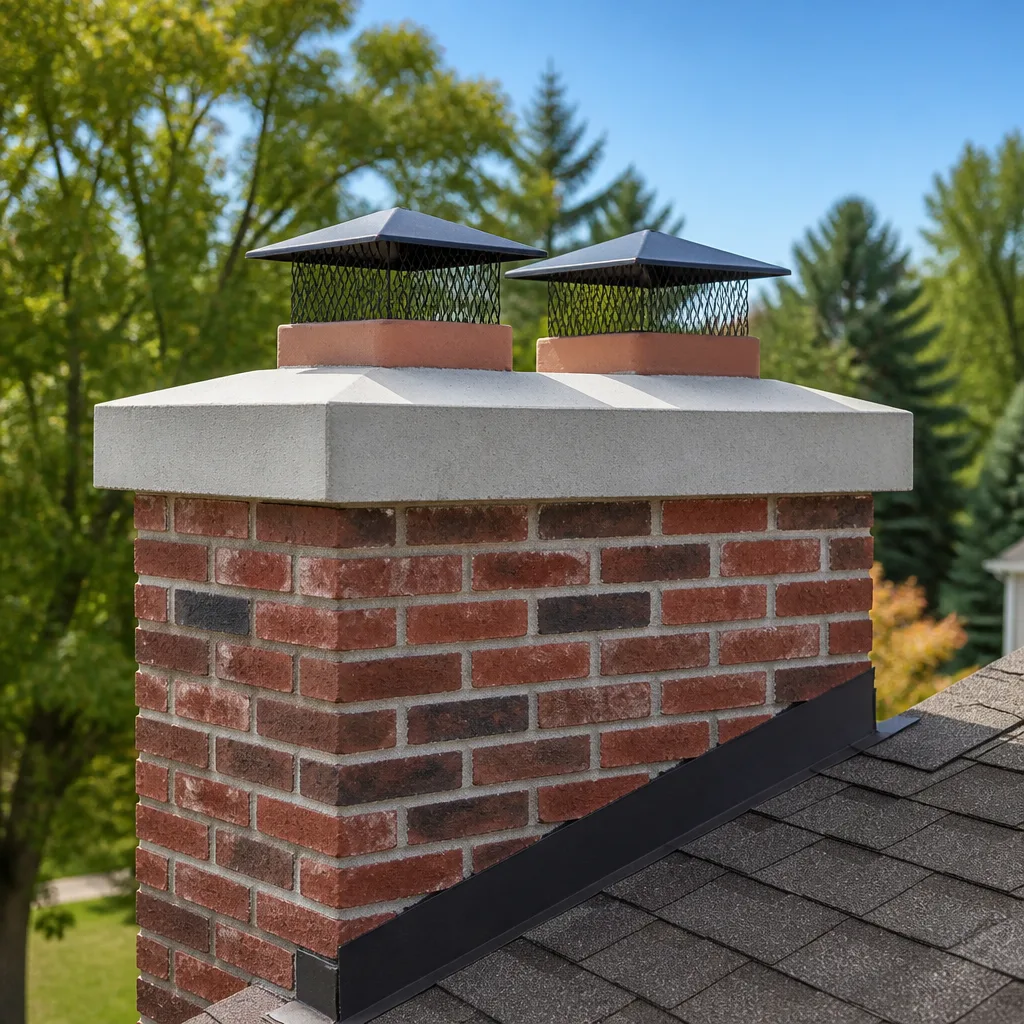 Caps & crowns
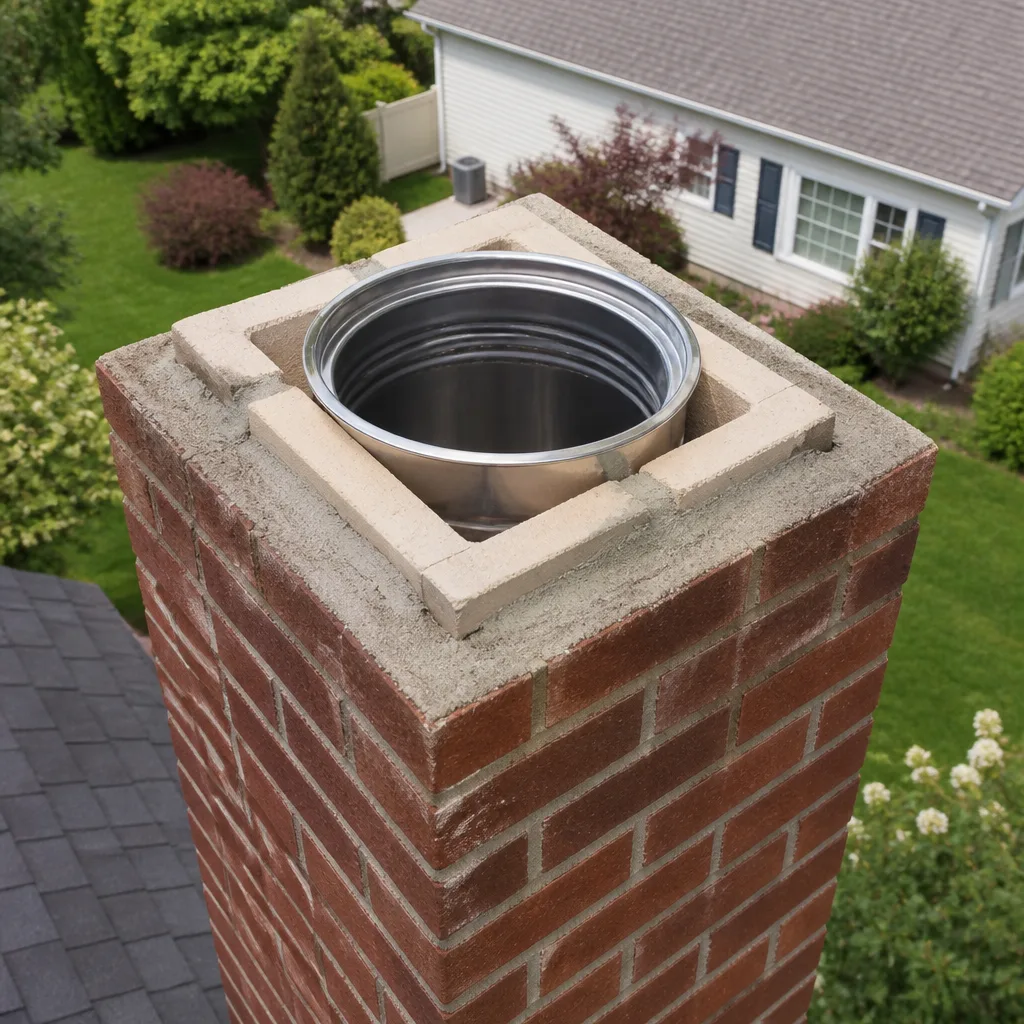 Flue relining
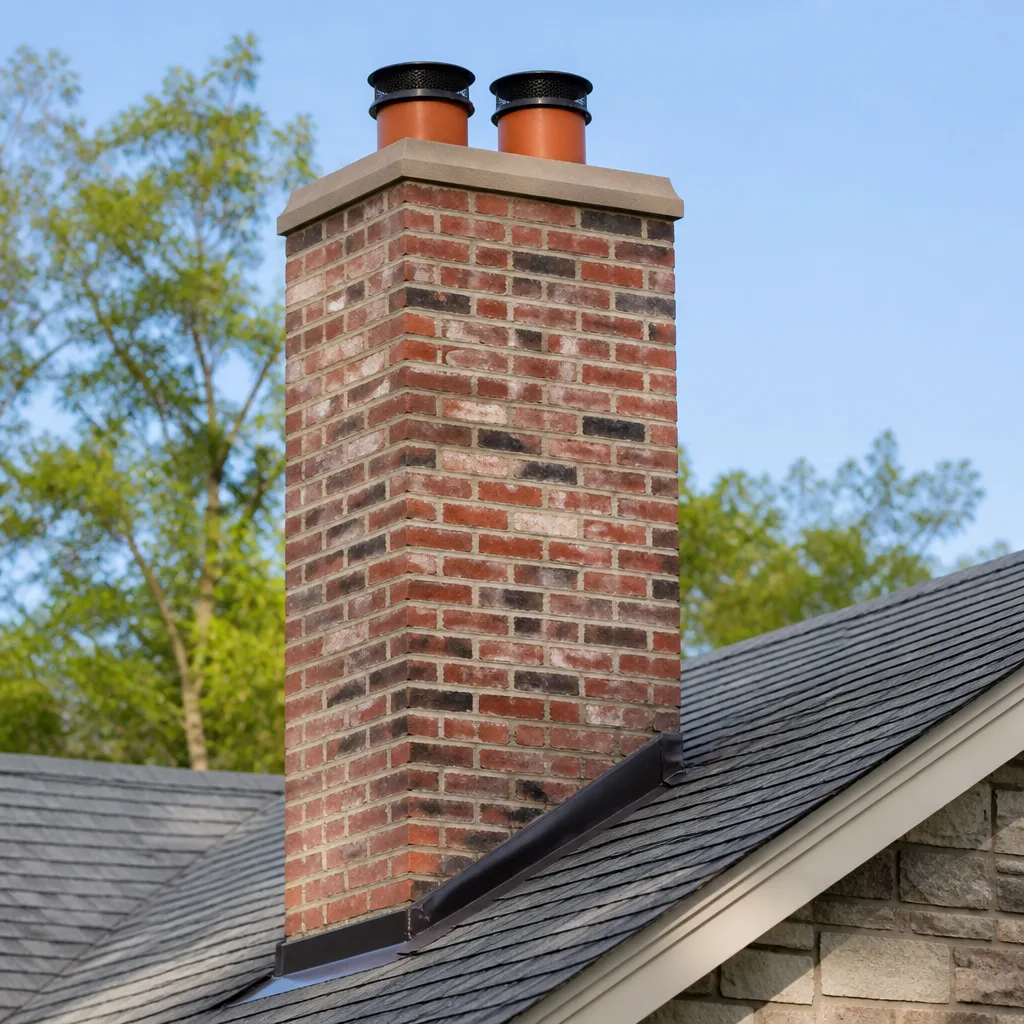 Masonry repair
 Gas fireplace service
Level 1 sweep and inspection to the NFPA 211 annual standard - flue, crown, cap, and flashing checked and photographed
Chimney sweep logs do not sweep chimneys. They loosen some creosote - which then falls where a brush and vacuum still have to collect it.
Chimney Sweep Maintenance Checklist for Columbia Homeowners
The worst time to discover a cracked flue tile in Columbia is October, when every sweep in the Midlands is booked two weeks out and the first cold snap is already on the forecast. The homeowners who avoid that scramble run their checks in late August, before the burning season, not at its edge. Most published chimney checklists ignore this timing entirely, handing you a generic four-season template that was written for New England and fits Columbia about as well as a winter coat in July. What follows is a checklist reordered around the Midlands calendar – Columbia’s real shoulder seasons, its summer thunderstorm pattern, and the rare but punishing freeze-thaw cycles that catch Zone 8a masonry off guard.
Quick Answer
A working chimney maintenance checklist for Columbia has four anchors: an annual sweep and level inspection before burning season (late August or September), an exterior masonry and cap check after summer storm season, a mid-winter look at creosote buildup if you burn hard, and a spring close-out that documents condition for next year. Look at your crown, cap, and flashing yourself each season, but leave the flue interior, liner, and firebox joints to a credentialed sweep with a camera.
Styles & brands we work with
- Sweep & inspection
- Caps & crowns
- Flue relining
- Masonry repair
- Gas fireplace service
Table of Contents
- Why Timing Matters More Than the Checklist Itself
- The Columbia Month-by-Month Chimney Calendar
- Exterior Masonry Inspections and the Freeze-Thaw Reality
- Cap, Crown, and Flashing: What to Check After Storm Season
- What You Can Check Yourself vs. What Needs a Camera
- How to Photograph and Document Your Chimney Year-Over-Year
- The Dryer Vent Checklist Nobody Remembers
- When the Inspection Turns Up a Problem: Repair Options to Know
Why Timing Matters More Than the Checklist Itself
A chimney checklist is only as good as the calendar it hangs on. The standard advice – “get your chimney swept once a year” – is technically correct and practically useless if you don’t know which month to book it in Columbia. Sweeps in the Midlands fill their schedules fast in October and November. If you wait until the first genuinely cold weekend to call, you’re competing with every other homeowner in the city for the same handful of appointments, and the work either gets rushed or gets deferred to January.
There’s a second, less obvious reason the calendar matters here. Columbia sits in a warm, humid climate with a long cooling season and a short, sharp heating season. That pattern has real consequences for a chimney:
- Creosote accumulates differently in a short burn season. A homeowner who burns hard from December through February can build significant creosote fast, even over just a few months, because the fire is running hot and often.
- Summer humidity drives deterioration more than winter cold. Months of warm, moist air working on masonry mortar joints does quiet damage between April and September. That damage is invisible until it isn’t.
- The first cool snap reveals everything. Small cracks, failed flashing, and a loose cap don’t announce themselves in July. They show up the first time you light a fire and smell something off, or the first heavy rain that finds a way in.
The fix is simple: run your inspection before the season, not at its edge. Late August and early September are the quiet months on a sweep’s schedule in Columbia, and they’re the smart months to get a camera down the flue and a set of eyes on the roof. That’s the window when a small issue can be caught and scheduled, rather than discovered in a panic.
If you’re new to the area or new to having a wood-burning fireplace, the broader guide to a chimney sweep in Columbia is worth reading alongside this checklist, since it covers what a proper sweep actually involves and what to expect when a technician arrives.
The Columbia Month-by-Month Chimney Calendar
Here’s the checklist mapped to Columbia’s actual seasons rather than a generic four-season template. Not every task needs doing every month – the point is that each task has a right month, and doing it in the wrong month wastes the effort or misses the window entirely.
- Late August – book the annual sweep and inspection. This is the single most important task on the list. Get on the schedule before the October rush. Ask for a level inspection with a camera so the flue interior and liner get eyes on them, not just a brush.
- September – do the sweep, and photograph everything. Second half of the month, ideally. Have the technician photograph the firebox, damper, smoke chamber, flue condition, crown, and cap. Save those images in a dated folder (more on this below).
- October – first burn, and a nose-and-eyes check. The first fire of the year is the best diagnostic tool you have. Note any smell, any smoke rollback into the room, any draft problems. These are the clues a sweep needs.
- November through February – notice creosote, don’t guess it. Check the firebox walls and damper for shiny, glazed buildup if you burn frequently. Glazed creosote is the dangerous kind, and it’s a sign the sweep was due sooner than you thought.
- March – final burn season close-out. After the last fire, do a quick visual pass on the firebox and chimney exterior. Note anything that changed over the season.
- April – post-storm-season exterior check. The Midlands storm season starts picking up in spring. Look at the cap, crown, and flashing before the heavier summer storms arrive.
- May through June – the summer exterior inspection. This is when storm damage from the first half of the year is easiest to spot. Cracked crown, lifted flashing, a cap that took a hit. Catch it before it feeds the humidity cycle.
- July – mid-summer humidity check. Look for efflorescence (white staining) on masonry, interior water stains, or rust on the damper. All three point to moisture getting in somewhere it shouldn’t.
That’s eight touchpoints across the year, but only one of them (the August/September sweep) requires a professional. The rest are quick observations you can make in ten minutes and write down. The reason to write them down is the topic of a later section.
Exterior Masonry Inspections and the Freeze-Thaw Reality
Columbia sits in USDA Zone 8a, which means hard freezes are the exception, not the rule. That’s actually more dangerous for masonry than it sounds. In a colder climate, masons build with freeze-thaw cycles baked into their material choices and mortar mixes. In Zone 8a, a chimney that was built during a mild winter and has survived fifteen mild winters can still fail suddenly on the one or two nights a year the temperature drops hard enough to freeze water trapped inside the masonry.
Here’s how the damage works, in plain terms. Brick and mortar are porous. They absorb moisture from rain, from humidity, and from the small amount of water that always finds its way past a slightly imperfect flashing. When that moisture freezes, it expands. When it thaws, the masonry is left slightly cracked. Each freeze-thaw cycle moves the crack a little further, until the mortar joint crumbles or the brick face spalls off entirely.
In a Zone 8a climate, the number of cycles per year is low – maybe a handful of nights – but the damage per cycle can be high, because the moisture content in the masonry is high. Warm, humid summers mean the brick and mortar are holding more water going into the cold snap than masonry in a dry, cold climate would be.
What to look for on the exterior masonry:
- Crumbling mortar joints. Recessed joints that have lost their sharp edges, or joints you can scrape with a fingernail, are failing. White, sandy runs down the brick are a sign of this.
- Spalled brick faces. Brick faces that have popped off, leaving a rougher interior surface, mean freeze-thaw has done its work.
- Efflorescence. Powdery white staining on the brick surface is salt pushed out by moisture moving through the masonry. It’s not always serious on its own, but it’s a moisture clue.
- Rust stains. Rust streaks below the cap or near the firebox usually mean a metal component is corroding from the inside out.
- Visible lean or bulge. Any chimney that visibly leans, or where the masonry bulges outward, is a structural issue that needs immediate professional attention, not a checklist item.
One more point that gets missed in generic checklists: the chimney chase on a prefab or manufactured system needs its own inspection. Those systems have different failure modes – loose siding panels, degraded chase covers, failed seals – and they behave differently under Columbia’s humidity than a masonry chimney does.
Cap, Crown, and Flashing: What to Check After Storm Season
Columbia’s summer thunderstorm season does more damage to chimneys than winter does. High wind and driving rain hit three specific areas harder than anything else, and all three are easy to inspect from the ground or from a ladder set safely at the roof edge. (Never get on the roof to check these. Look with binoculars from the ground, or have the technician look during the sweep.)
The cap
The cap is the cover at the very top of the flue. It’s the chimney’s first line of defense against rain, animals, and sparks. In a Midlands storm, the cap takes the full force of the wind, and it’s also the part most likely to work loose over time from wind vibration. Look for:
- A cap that’s visibly tilted or off-center.
- Rust on a metal cap that’s eaten through the surface.
- Missing cap, or one that’s been knocked loose and is resting on the flue.
- Animal nesting material visible at the flue opening (screen gone or damaged).
If a cap needs replacing, a purpose-built chimney cap from a supplier like Gelco or Famco lasts longer and fits better than a hardware-store substitute. That difference matters here – a loosely fitting cap rattles in high wind and lets water past the flue edge on wind-driven rain.
The crown
The crown is the concrete or mortar slab at the very top of the chimney that slopes away from the flue to shed water. A failed crown is the most common path to serious interior chimney damage, because water that pools on a cracked crown works its way down through the masonry, into the smoke chamber, and eventually into the house.
Look for cracks in the crown. Hairline cracks that follow the crown’s slope are less urgent than cracks that run across the flue opening or where the crown meets the flue. A crown with a wide crack, or a crown that’s visibly separating from the flue, needs professional repair before the next wet season.
The flashing
Flashing is the metal (usually lead or aluminum) that seals the joint where the chimney meets the roof. It’s the highest-risk leak point on any chimney, because a tiny failure lets water run down the chimney chase and into the attic or ceiling below. On a Columbia roof, flashing takes a beating from both summer storm uplift and the sun’s UV, which can degrade the sealant around it.
Check the flashing for lifted edges, curled or missing pieces, and visible gaps between the flashing and the chimney. Any of those means water is getting in, and the fix is a flashing job, not a caulk job – sealant alone will fail within a season or two in the Midlands heat.
What You Can Check Yourself vs. What Needs a Camera
One of the more useful things a homeowner can learn is where the line sits between “I can see this myself” and “this needs a camera and a credentialed sweep.” The line isn’t arbitrary. It’s set by what’s visible, what’s accessible, and what’s genuinely dangerous to check without training.
Safe to check yourself (from the ground or a stable ladder at the roof edge):
- Crown cracking and separation.
- Cap condition and alignment.
- Visible flashing condition.
- Exterior masonry cracking, spalling, or efflorescence.
- Interior water staining around the chimney breast.
- Rust on the damper or on the firebox components.
- Smoke smell or draft issues when you light the first fire of the season.
- Visible creosote on the firebox walls and damper.
Needs a camera and a credentialed sweep:
- The interior of the flue, including the condition of the liner.
- The smoke chamber (the area above the damper, below the flue – it’s not visible from the firebox).
- The firebox joints and the area behind the firebox.
- Any hidden chase or cavity behind the chimney breast.
- The joint where the flue liner meets the top of the chimney.
- Creosote buildup level inside the flue (the dangerous glazed stage is invisible from the firebox).
A camera inspection is worth insisting on. Anyone can run a brush down a flue and hand you a bill. A camera tells you what’s actually happening inside the chimney, including the liner condition, which is the part most likely to be a genuine safety issue. Professional-grade sweep equipment from brands like Olympia Chimney and HeatShield is designed for exactly this – the tools are part of the inspection, not an add-on.
There’s a hard safety line here worth stating plainly. The springs and cables on a garage door are the classic “never DIY” component, but a chimney has its own version: the firebox and flue interior, when creosote is present, are a genuine fire risk. Never try to chip creosote out of a flue, and never run a brush by hand down a flue you can’t see into. Leave the flue work to a trained professional. This isn’t a liability hedge; it’s the difference between a clean chimney and a house fire.
How to Photograph and Document Your Chimney Year-Over-Year
This is the piece almost nobody does, and it’s the one that pays off the longest. A single inspection photo tells a technician what your chimney looks like right now. A stack of photos, taken the same way every year, tells them what’s changing – and change is the signal that matters. A crack that’s been the same width for three years is probably stable. A crack that widened by a visible fraction between last August and this August is a problem that needs a repair plan, not a wait-and-see.
Here’s a simple documentation routine that works:
- Pick a date and stick to it. Late August or early September works, right before the sweep. Same week each year.
- Take the same six shots every year. The crown, the cap, the flashing, the chimney exterior from the same angle, the firebox interior, and the damper area. Use the same camera position where possible.
- Take one wide shot of the whole chimney and roof. This is your baseline for spotting anything new that you wouldn’t notice in the close-ups.
- Label the files with the year. A folder called “Chimney 2026” beats a camera roll full of unlabeled photos.
- Have the sweep add their photos to the same folder. The technician’s camera shots of the flue interior and the liner are the most valuable images you’ll collect. Ask for them.
- Keep a one-page written note each year. What the technician found, what was repaired, what was flagged for next year. One page is enough. When you sell the house or hire a new sweep, that history is genuinely useful.
If you’re in a Columbia neighborhood with older housing stock – Shandon, Heathwood, and the older stretches of Forest Acres come to mind – you’ll want to run this documentation from the first year you own the house. Older chimneys have more to track, and the value of a documented history is higher when the masonry has been through more seasons.
When you hire a sweep, ask whether the inspection report includes photos. Any sweep with a camera setup (the kind that uses professional-grade inspection tools) will happily hand them over.
The Dryer Vent Checklist Nobody Remembers
Your dryer vent is a chimney. It’s a vertical duct that carries hot air and lint up and out of the house, and when it clogs, the failure mode is the same: a fire inside a concealed cavity. Most homeowners never think about it, and the ones who do usually clean the lint screen and call it done. The lint screen catches a fraction of the lint the system produces. The rest coats the inside of the duct, and in a long run with a few elbows, a clog can build up silently for a year or more.
The good news is that dryer vent cleaning is a straightforward job, and it’s smart to book it on the same visit as the chimney sweep. Two hidden fire-risk systems, one appointment, one block of time. Here’s the checklist for the vent side:
- Every load: clean the lint screen before starting the dryer.
- Every month: check the outside vent flap while the dryer is running. It should open freely. If it’s stuck or barely moving, airflow is restricted.
- Every three months: pull the dryer out and vacuum the area behind and underneath it. Lint collects there and is a fire fuel source.
- Twice a year: check the duct run where it’s visible (behind the dryer, in the attic if the duct passes through it) for lint buildup, kinks, or crushed sections.
- Annually: have the vent professionally cleaned, especially if you have a long duct run, a vent that exits through the roof, or a household with pets. Those three factors raise the rate at which lint accumulates.
If you notice the dryer taking longer than it used to, or clothes coming out hotter than expected, that’s a strong sign the vent needs attention. It’s also worth checking the vent if you’ve never had it cleaned and you’ve been in the house for a few years.
When the Inspection Turns Up a Problem: Repair Options to Know
Sooner or later a checklist turns up something. A cracked flue tile, a failing crown, a liner that’s reached the end of its life. The good news is that the range of repair options is wider than most homeowners realize, and a good portion of chimney problems that used to require a full rebuild now have less invasive fixes.
Flue liner repair without a full teardown
If the flue liner has deteriorated but the surrounding masonry is still solid, HeatShield resurfacing is often the right answer. It’s a certified repair process that resurfaces the existing liner from the inside, restoring the flue to a safe working condition without tearing the chimney apart. It’s the kind of repair that some generalist handymen simply don’t offer, because it requires both the material system and the training to apply it correctly.
Full relining
When the liner is beyond resurfacing, a DuraFlex flexible liner system is the standard fix. It’s a stainless liner that gets pulled down the existing flue, giving the chimney a new, gas-tight interior without a full rebuild. The work happens from the top down and from the firebox up, and it’s the standard solution for a chimney that’s failed the camera inspection outright.
Caps, crowns, and top-side components
Cap and crown replacements are smaller jobs with outsized impact, because a proper cap and a well-sloped crown keep the water out that would otherwise cause every problem above. Gelco and Famco make purpose-built caps and top-side components that fit and last; these aren’t the kind of parts you want to source from a general hardware aisle.
When to leave it alone
Not every finding needs fixing immediately. A hairline crown crack that’s been stable for years, a slightly weathered mortar joint on a chimney that’s structurally sound – these can safely wait and be watched. A credentialed sweep will tell you plainly when a finding is “monitor it” versus “fix it before next season” versus “don’t burn until it’s fixed.” If nobody’s told you which category a finding falls into, ask.
The three service categories cover the full scope: chimney sweep and inspection, chimney repair including HeatShield resurfacing and DuraFlex relining, and dryer vent cleaning. If you’re looking at Rutherford Chimney Sweep, this is what the company does – one call covers all three, without a referral to a separate contractor for the repair work.
Common Mistakes to Avoid
- Booking the sweep in October. In the Midlands, this is the single biggest scheduling mistake. Book in late August or early September, when the calendar has room and a found problem can still be fixed before the season starts. Same-day service is available for urgent calls, but a routine sweep shouldn’t require it.
- Skipping the camera inspection and just getting a sweep. A brush down the flue doesn’t tell you the condition of the liner or the smoke chamber. Ask for the camera report, and ask for the photos.
- Assuming summer weather can’t damage a chimney. In Columbia, summer storm season and the humidity that follows cause more chimney damage than winter does. The exterior check after storms matters as much as the pre-season sweep.
- Cleaning the lint screen and calling the dryer vent done. The lint screen catches a fraction of the lint the system produces. The vent line itself needs an annual cleaning, and it’s the part most often ignored.
- Treating a crown crack as cosmetic. A cracked crown is the most common path to water in the chimney chase and eventually in the house. It’s an easy repair early and an expensive one late.
- Reading the chimney from memory instead of photos. A photo of the crown from last August tells you whether this August’s photo shows progression or stability. Without the photo, you can only see the current state, not the trend.
- Waiting until something smells wrong. The first cold snap is a reveal, not a warning. If you haven’t done the sweep, the smell is telling you a sweep was due a few months ago.
See the difference
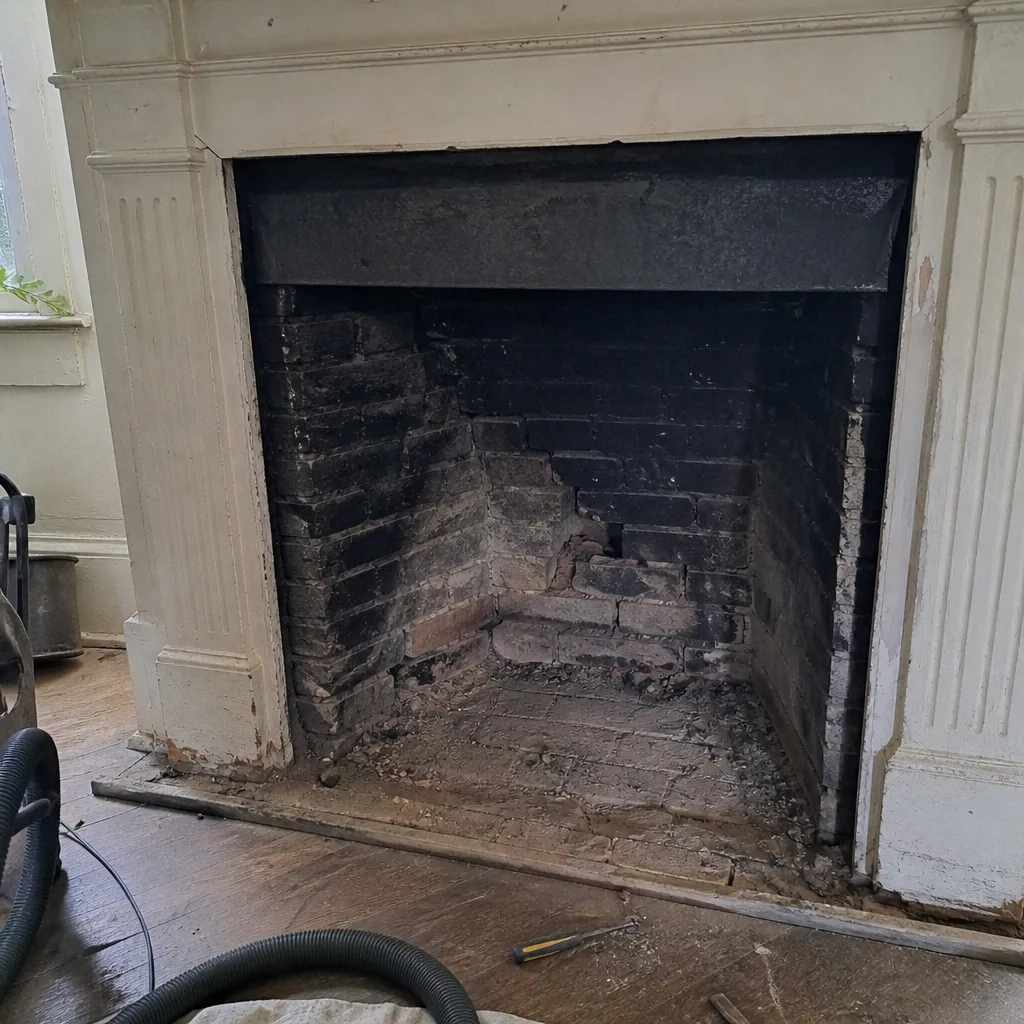 Before
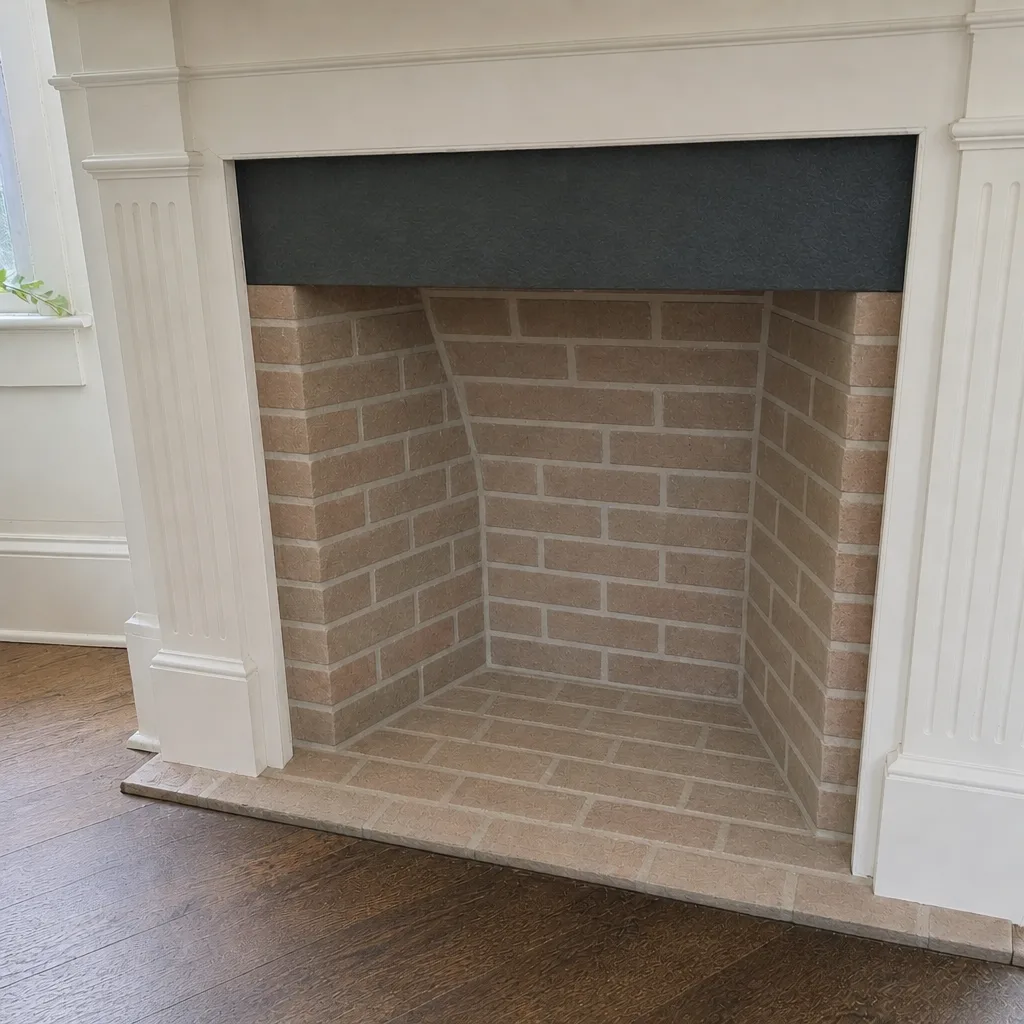 After
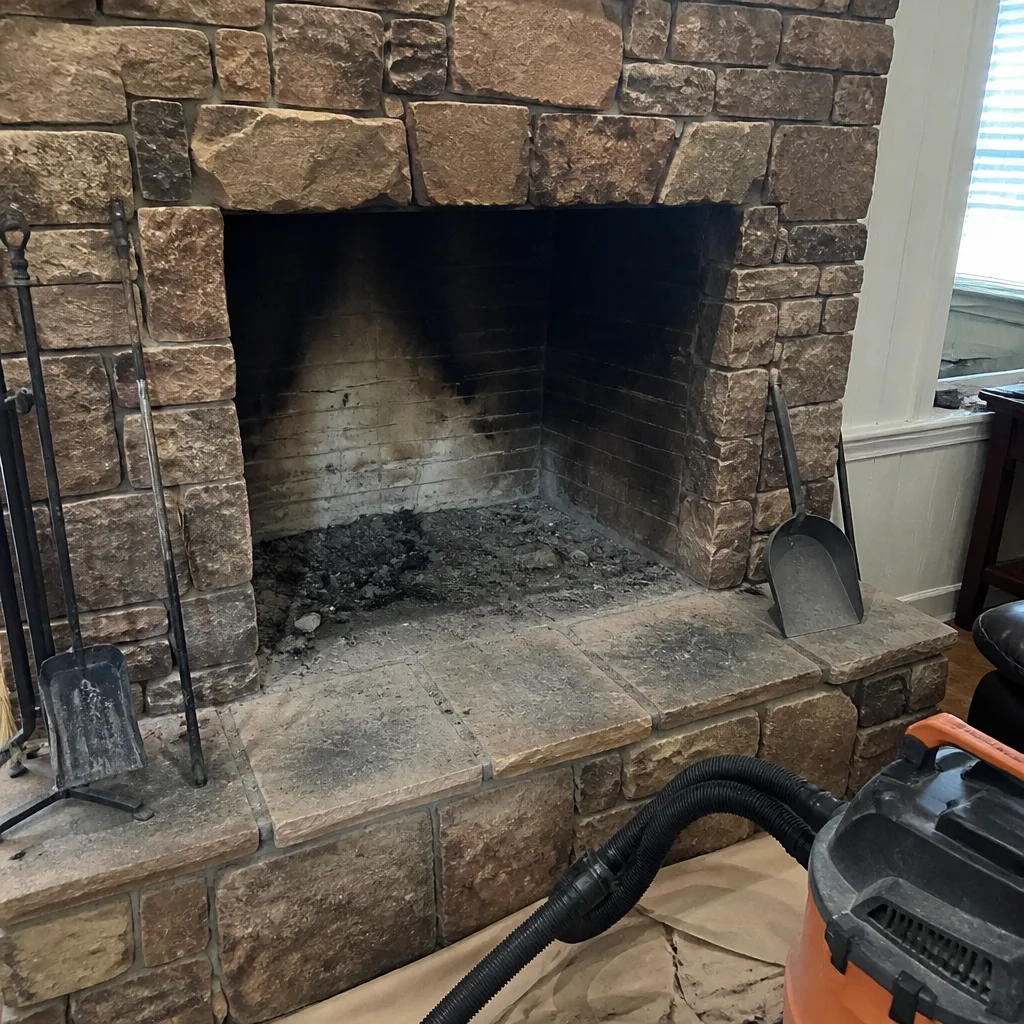 Before
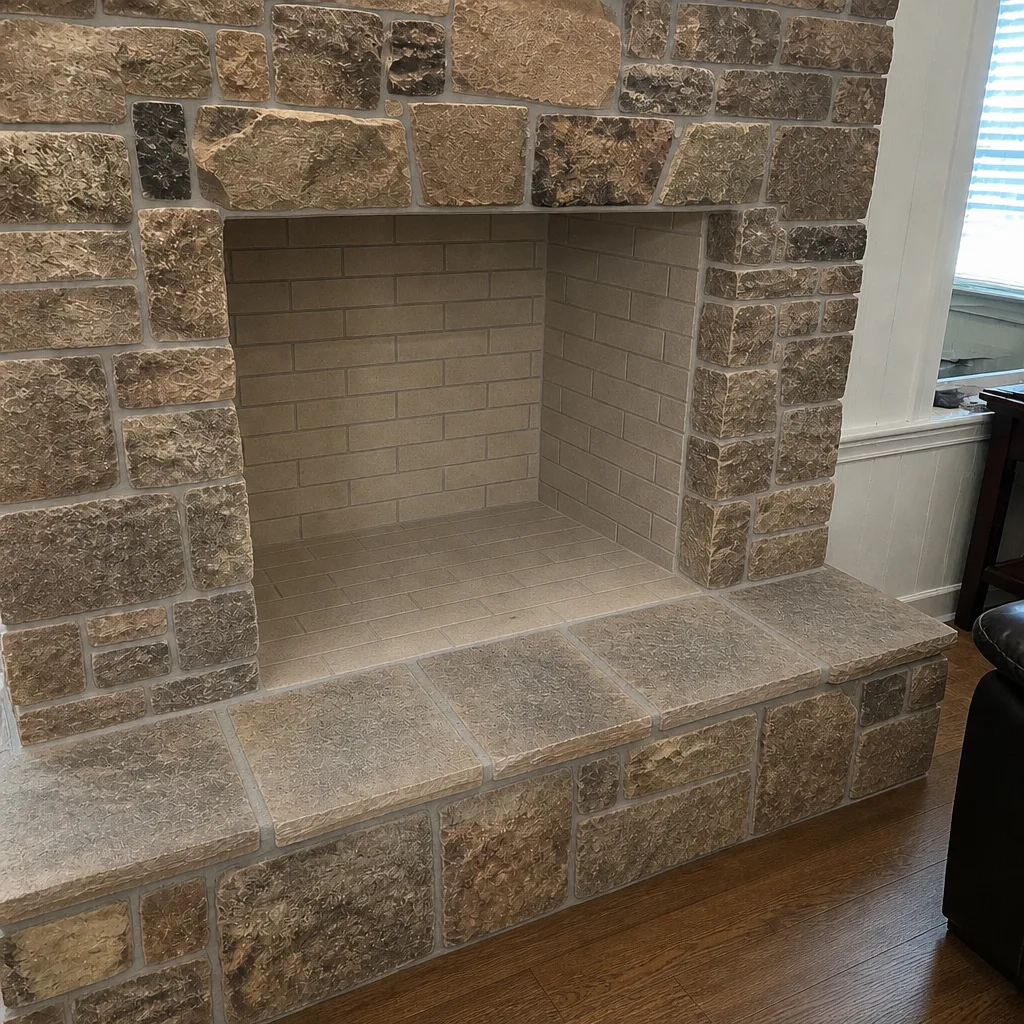 After
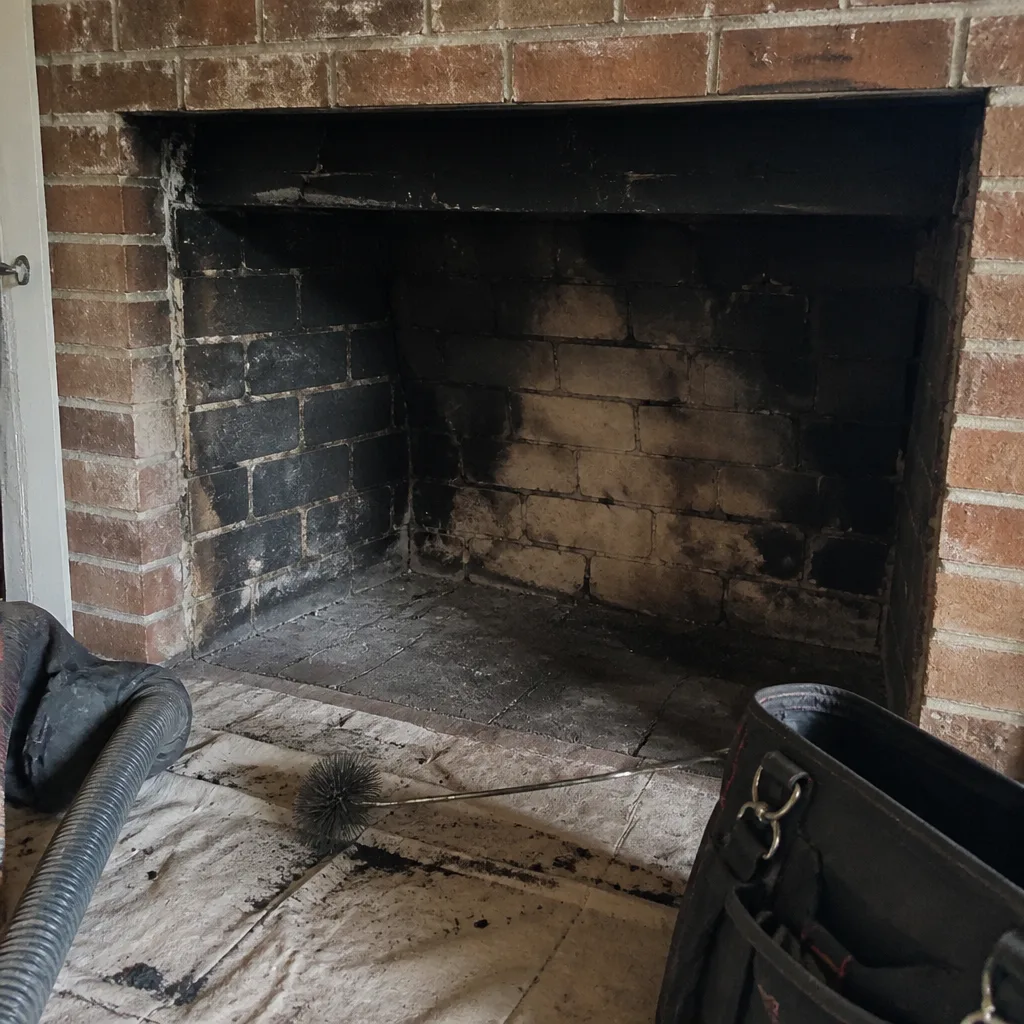 Before
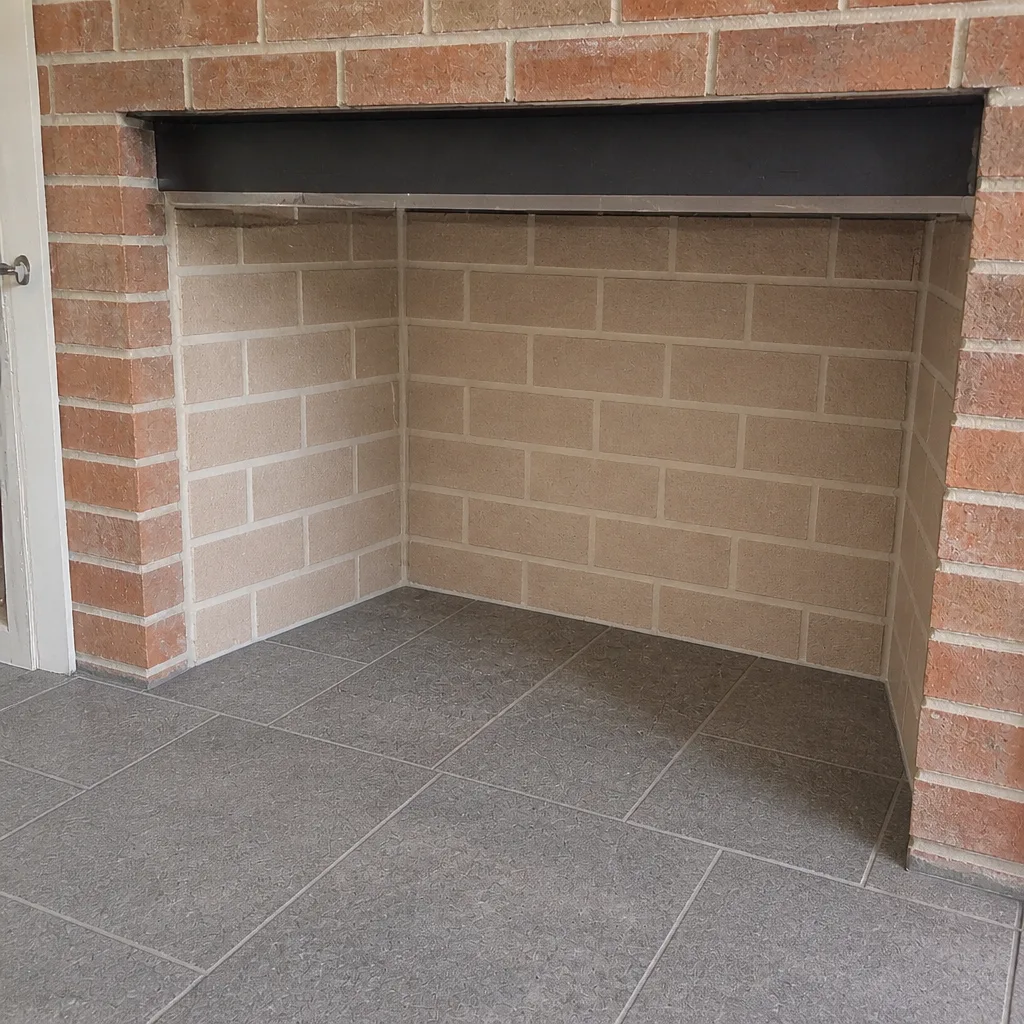 After
When to Call a Professional
Call a sweep when it’s been a full burning season since your last inspection, when you notice any of the exterior warning signs above, when the first fire of the year smells off or the room fills with smoke, or when you’re simply looking at an older chimney with no documented history. Call a professional sooner if you see a visible lean or bulge, cracked flue tiles, or a substantial crown crack. Call us for the dryer vent if it’s been more than a year, or if the dryer is running long. Rutherford Chimney Sweep offers free estimates in Columbia – call (844) 940-3007. We answer 24/7, and fast dispatch from 7am to 7pm, Sunday through Friday.
Frequently Asked Questions
Once per burning season is the standard. In Columbia, that means booking the sweep in late August or early September, before the season starts. If you burn frequently or burn unseasoned wood, the flue can build up creosote faster than once a year can cover, so ask the technician at the sweep whether your burn pattern calls for more frequent cleaning.
Late August and early September are the right months. The calendar is open before the October rush, the weather is still warm enough to work comfortably on the roof, and there’s time to fix anything the inspection turns up before burning season. A call outside dispatch hours is booked into the next opening, Sunday through Friday, 7am to 7pm.
You can safely check the crown, cap, flashing, exterior masonry, and interior water staining from the ground or a stable ladder at the roof edge. You cannot safely check the flue interior, the liner, or the smoke chamber – those need a camera and a credentialed sweep. Any creosote removal inside the flue must be done by a trained professional.
Yes, in a specific way. Columbia’s Zone 8a climate has fewer freeze-thaw cycles than a northern climate, but each cycle can do more damage because warm, humid summers leave the masonry holding more moisture before the freeze. The practical effect is that chimney damage in Columbia tends to show up suddenly, on the rare hard freeze, rather than gradually over a long cold winter.
Only a camera inspection can tell you. A visual look from the firebox shows the bottom of the flue, not the liner condition above. If the camera inspection finds a deteriorated liner, the two repair paths are HeatShield resurfacing (restores the existing liner without a rebuild) and a DuraFlex flexible liner (a full reline when resurfacing isn’t viable). The technician should show you the photos and explain which path applies.
Not with us. Dryer vent cleaning is a core service alongside the chimney sweep and repair work, so it can be handled on the same visit. That covers two hidden fire-risk systems in one appointment rather than two separate contractors.
The Bottom Line
A chimney maintenance checklist is a calendar, not a list. In Columbia, that means the annual sweep and camera inspection in late August or early September, the exterior check after summer storm season, the mid-winter creosote watch if you burn hard, and the spring close-out with photos for next year. The tasks you do yourself are quick observations – crown, cap, flashing, staining – and the tasks you hand to a professional are the ones you can’t see or safely touch. Document the year-over-year photos. Add the dryer vent to the routine. And when a problem turns up, get a written estimate and photographs you can look at yourself before you commit to a repair. That’s what makes a checklist useful: it catches small things before they become big ones, and it does it at the right time of year.
If you’re in Columbia and you haven’t booked your pre-season sweep, now is the window. Call (844) 940-3007 for a free estimate. We answer 24/7, with fast dispatch from 7am to 7pm, Sunday through Friday. The broader Columbia service page covers what to expect on the visit, and the guide is the place to start if you’re mapping out the year ahead.
Written by the team at Rutherford Chimney Sweep.